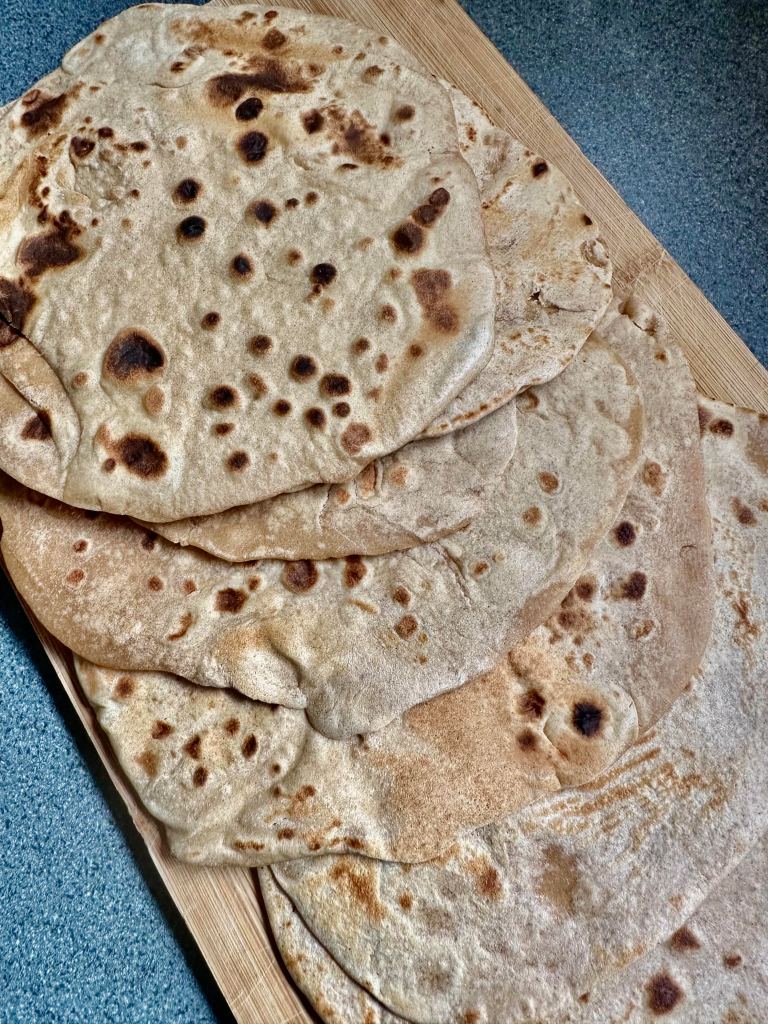
It’s finally time, after posting nine other recipes from my catalogue I am releasing my chapati recipe out into the world. When I first decided to call this blog Fresh Hot Chapatis I did so with the knowledge that a chapati is, in essence, a simple thing. They are composed of four ingredients (at least mine are) and they usually exist as a vehicle for eating something else. I pride myself on them though because they show that simplistic tried and tested methods can really produce something delicious, inexpensive, and deceptively impressive.
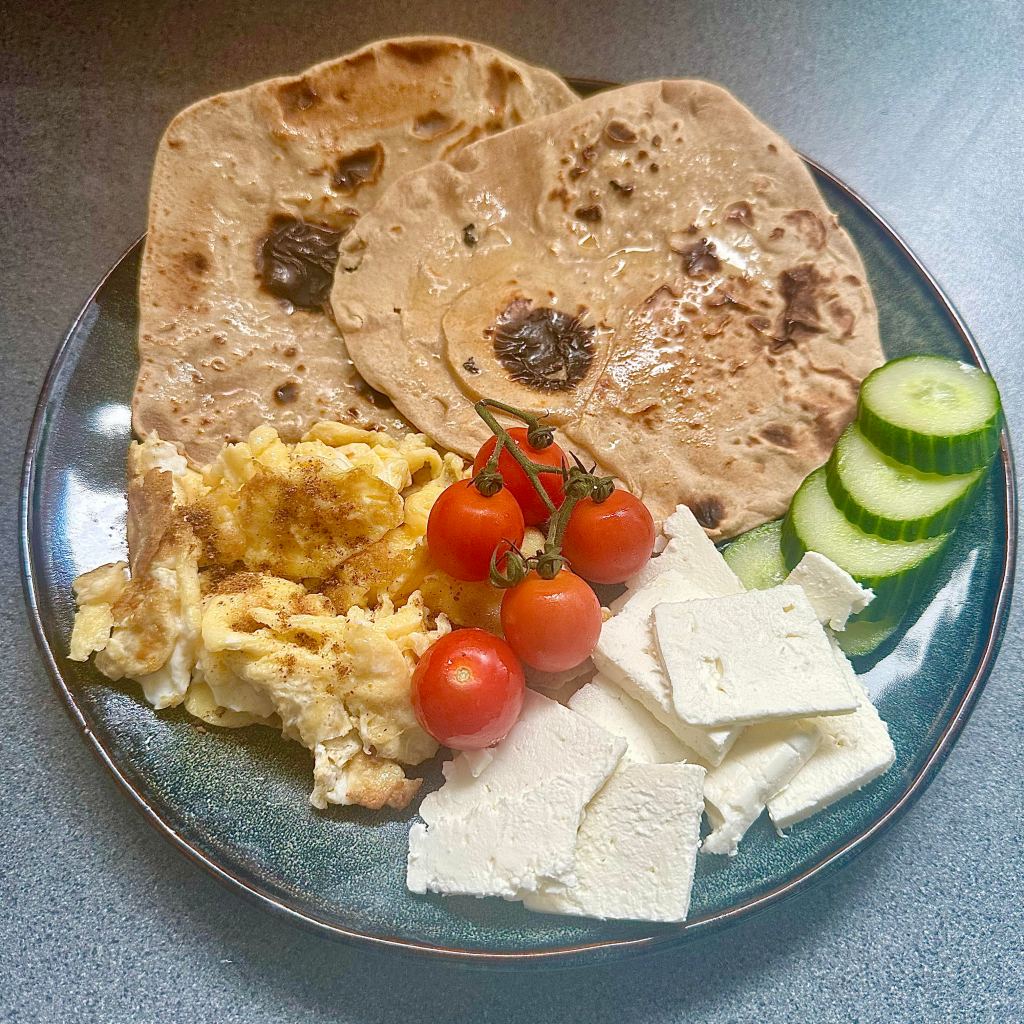
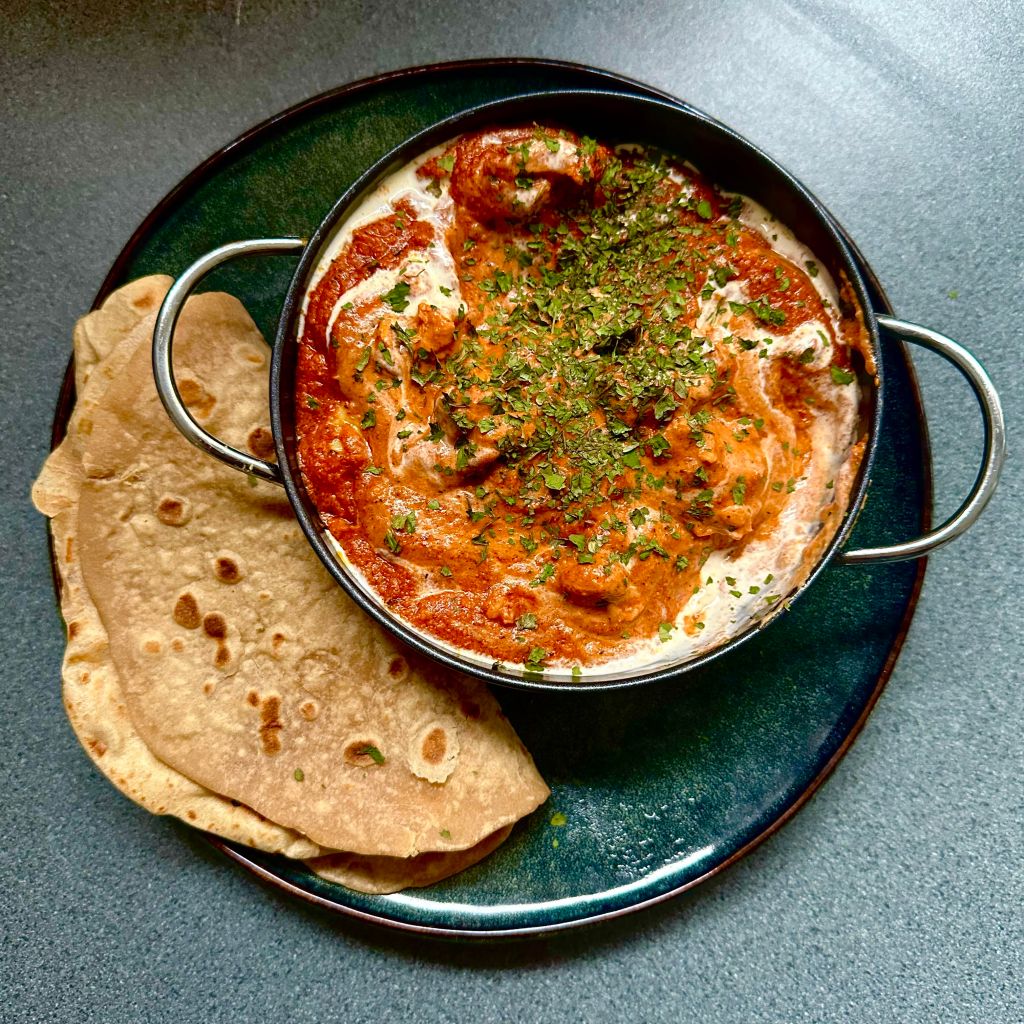
The chapati is also known as a roti, and I use both terms interchangeably. The reason why I’ve ultimately gone with using chapati for the recipe is because roti is a term that has migrated to other cuisines. Rotis in Thailand or Trinidad are quite different and often more elaborate than the ancestral rotis of India, so to avoid confusion today we’ll call them chapatis. Typically they’re served curries, like my butter chicken, but they can also be enjoyed with eggs (I sprinkle garam masala on them) or with a glossy layer of butter melted over them. Essentially you can, and should, have fun with them.
Pro tip: Chapatis, like all breads, are about honing your instinct for dough feel. As someone who doesn’t bake very much I truly get how frustrating getting a dough just right can be. For chapatis I’d suggest kneading the dough for an extra few minutes longer than you think you should. For more complex breads you can over knead and make something too tough but I’ve not found that issue with chapatis so far.
Ingredient note: I have to insist that you seek out actual atta flour that is designed for making chapatis with. Personally I prefer to use elephant atta gold, but any chapati flours will do. This is a whole wheat flour that has been milled to make the best chapatis. Atta can be found at many larger British supermarkets but will always be found at Indian grocery stores or on Amazon. You could use plain flour but I’d advise against using bread flour. Bread flour has more proteins in it that develop stronger gluten stands, this can make chapati dough too tough and harder to work with.
| Cuisine | Indian |
| Serves | 8 Chapatis |
| Prep Time | 1hr 20 minutes (mostly passive time) |
| Cook Time | 1.5 minutes per chapati |
Ingredients:
- 250g/2 cups Atta (chapati) flour
- 180ml/0.75 cups warm water
- 1-2 tsp vegetable oil
- 1-2 tsp salt
- Optional ghee or butter to brush on finished chapatis
Method:
- Whisk together the flour and salt in a large mixing bowl and form a well in the flour.
- Add the oil to the well then some of the water, use a wet hand to mix the dough together, gradually adding more water until a shaggy sticky dough forms.
- Continue kneading the dough in the bowl for 5 minutes until it becomes more homogenous and less sticky.
- Remove the dough from the bowl and begin to knead on a lightly floured work surface. At this point knead by using the heel of your hand to push and stretch the dough forward across the surface. Turn the dough 45 degrees and repeat with your opposite hand.
- Continue to knead the dough like this until it is no longer sticking to your hands at all. Ideally we want a dough with a texture similar to playdough that will slowly spring back if you press into it.
- Once you have achieved the right consistency return the dough to your mixing bowl and cover with a warm damp tea towel. Allow it to rest for 30 minutes up to 2 hours (but 30 mins is ideal).
- Once the dough has rested, separate it out into 8 equally sized portions. Roll these portions into balls using your hands and allow them to rest covered again for a further 30 minutes.
- When you’re ready to start rolling out your chapatis, bring up a cast iron pan to high heat.
- Shape the chapatis by first pressing down on a dough ball to make it a coin shape.
- For circular chapatis roll out the dough with a rolling pin and then turn the dough 45 degrees before repeating. Essentially you want to get into a pattern of rolling out the dough then turning it, rolling it out again then turning it again. I find this is the best way to get that circular shape but don’t stress if you don’t have perfect circles.
- When you have a chapati roughly 15cm in diameter and about 3mm thick (basically very thin), place the dough on your heated up pan.
- When you notice air pockets forming on the raw side of the chapati, flip it over. This should be about 30 seconds after you’ve started.
- Once the chapati is cooked on both sides and some light browning, take a clean tea towel and buch it in your hand so it makes a solid dome. Use this to press on the edges of the chapati as it finishes cooking. This forces large air pockets to form in the chapati, something traditionally aimed for.
- After cooking you can brush butter or ghee on a chapati to keep them softer (and tastier) but this is optional.